Showing posts with label Kiddos. Show all posts

Friday, December 24, 2010

Travel Game Boxes

Last night I came up with an idea which I had a blast executing today. I've been playing a lot of educational dice games lately with my boys and my nieces. I tend to see my nieces at restaurants, and as such, we have a hard time keeping the dice from flying off the table. This idea of mine helps contain the dice AND a deck of cards, as well as a pencil. I'm certain (given enough time) I will even find little pads of paper to fit in here.


I want to share the idea AND how to make them. As such, here's a little tutorial, complete with a surprise at the end.

Travel Game Box Tutorial

A quick gift to put together and give to kids and adults alike. Anyone who enjoys playing basic card and dice games will enjoy this little travel set.

Difficulty: Easy (although an adult should work with the hot glue)

Time to Make: Under 30 minutes.

Cost: Under $4 each.

Materials:

Suggested Contents to Fill:
  • Deck of Cards
  • 6 Dice (nearly all dice games I've found can be managed with this number)
  • Pencil
  • Paper
  • Instruction Sheet

Supplies:

  • Scrap Paper
  • Ball Point Ink Pen
  • Scissors
  • Rotary cutting supplies (optional)
  • Hot Glue Gun

Instructions:
  1. Gather your supplies. I went to Hobby Lobby for the "Catch All Cases" and the felt. (By the way, you could certainly make this item out of any size box that will hold a deck of cards and some dice.) Then I shopped the $1 Stocking Stuffer Bins at Michael's for my playing cards and dice. I spent a total of $21 and made six tins. (I did use three decks of cards and pencils I already had on hand.)


  2. Cut a rough template out of scrap paper to fit into the base and lid of your container. My template measures a hair under 3" x 7 7/8". For curved corners, find an object that approximately follows your curve, then use it to trace the shape onto the corners.


  3. Once your fit is right, measure the actual size and cut the felt to match.


  4. If needed, trace the rounded corners onto the wrong side of the felt with a ball point pen.


  5. Trim the corners.


  6. Check the fit in the item, then glue into place. When using the hot glue on the cooler tins, I found it best to apply glue around the edge of the felt, then quickly (and carefully) place the felt in, pressing to adhere. This step really should be overseen (or done) by an adult... and even then, there are no guarantees that the Hot Glue Gun Operator will walk away burn free.


  7. Admire how nice your cards and dice look in the box!


  8. Test roll a few dice, and pretend to play a game, where you set your "keep" dice up on the ridge so you can see them. Smile at how clever you are!


  9. Fill the tin with all the other lovely goodies (I included a cute little "winter" button in these tins... which has nothing to do with the game tin, but was a fun way to give the item out.)


While I now realize I was able to link to the tins online, I did take this special picture of the label just for you, so, here is the information if you were wondering who creates the boxes I used. That would be "The Tin Box Company".


And now for that surprise... here is the PDF I created with a dozen different dice games.

Dice Games Booklet

You can print it (double sided) then trim a bit off each edge (about 1/4"-1/2"). It will fold up quite nicely to give you an assortment of dice game ideas.

Of course I'd love to know if you use this tutorial (and see pictures of your projects) but even if you don't, you may enjoy this set of dice rules.

In the spirit of giving credit where credit is due, I adapted the rules for these rules from the following sources: activityvillage.co.uk, ehow.com, and grandparents.com.

I also wanted to share my original use for these fun tins.


Over the summer we moved, and I needed to put together a new little kit of sewing notions. Now that I've got my things out of storage, this handy little kit STILL sits right by my computer & sewing area. I love how it has everything I need just right there... even a little sweet should a sweet tooth attack!


Merry Christmas to all, and to all a Good Night!


added 25 Dec 2010
By the way... the Creative Spark for this idea came after reading a post on
Sara vs Sarah about Joe's Stuff... specifically the cigar box for the Paris, France Journal. Thanks to Sarah Meland for the great ideas and help keeping the creative juices flowing!!!

Thursday, October 21, 2010

Biological Lessons

When we woke to wind and cloudy skies (with rain on the ground), I groaned because of putting off the zoo yesterday. Two hours later we arrived at the zoo, to find blue skies, 58°F-68°F temperatures, and a deserted zoo full of frisky animals (thanks to the rain). Today was our third week in a row we've gone to our Biological Park for the morning. I don't realize just how many times I press that shutter... until I get home and download over 270 photos from just 2 hours at the Zoo. Here are the top 10% from today:

Jack is quite pleased that he's starting to be able to read words like "zoo".

There are several photos of the boys as they walk (backwards), but I love this one where Jack is looking up to Frank.

You've got to love Photoshop Actions where you can save even a fuzzy, out of focus photo, and make it look "aged" or intentional! Thanks again Pioneer Woman for your amazing (free) Action Sets! This photo has the "Heartland" Action, from Set 2, applied to it.

Ever since the 6th Grade I've been interested by Flamingoes.

Just because I had knobby knees, weighed under 60 pounds, and wore hot pink all the time, that wouldn't have had *anything* to do with said "interest".

No matter the reason why, I do like flamingos and am quite pleased that the exhibit at this zoo is front and center by the entrance/exit. I can stop and watch them coming AND going.

For the times when Mom is taking too many pictures, the boys get going on their own with a "C'mon MOM!"

Like water on a (Carolina Wood) Duck's back, I tell you!

Now THIS is the kind of Birthday Portrait I've been after for the past two weeks... well, minus the raincoat and sun hat, but this expression! That's what I'm talkin' about!!!

Got sun, just add tree branch.

Instant shade AND a snack all in one!

Such a funny expression and pose.


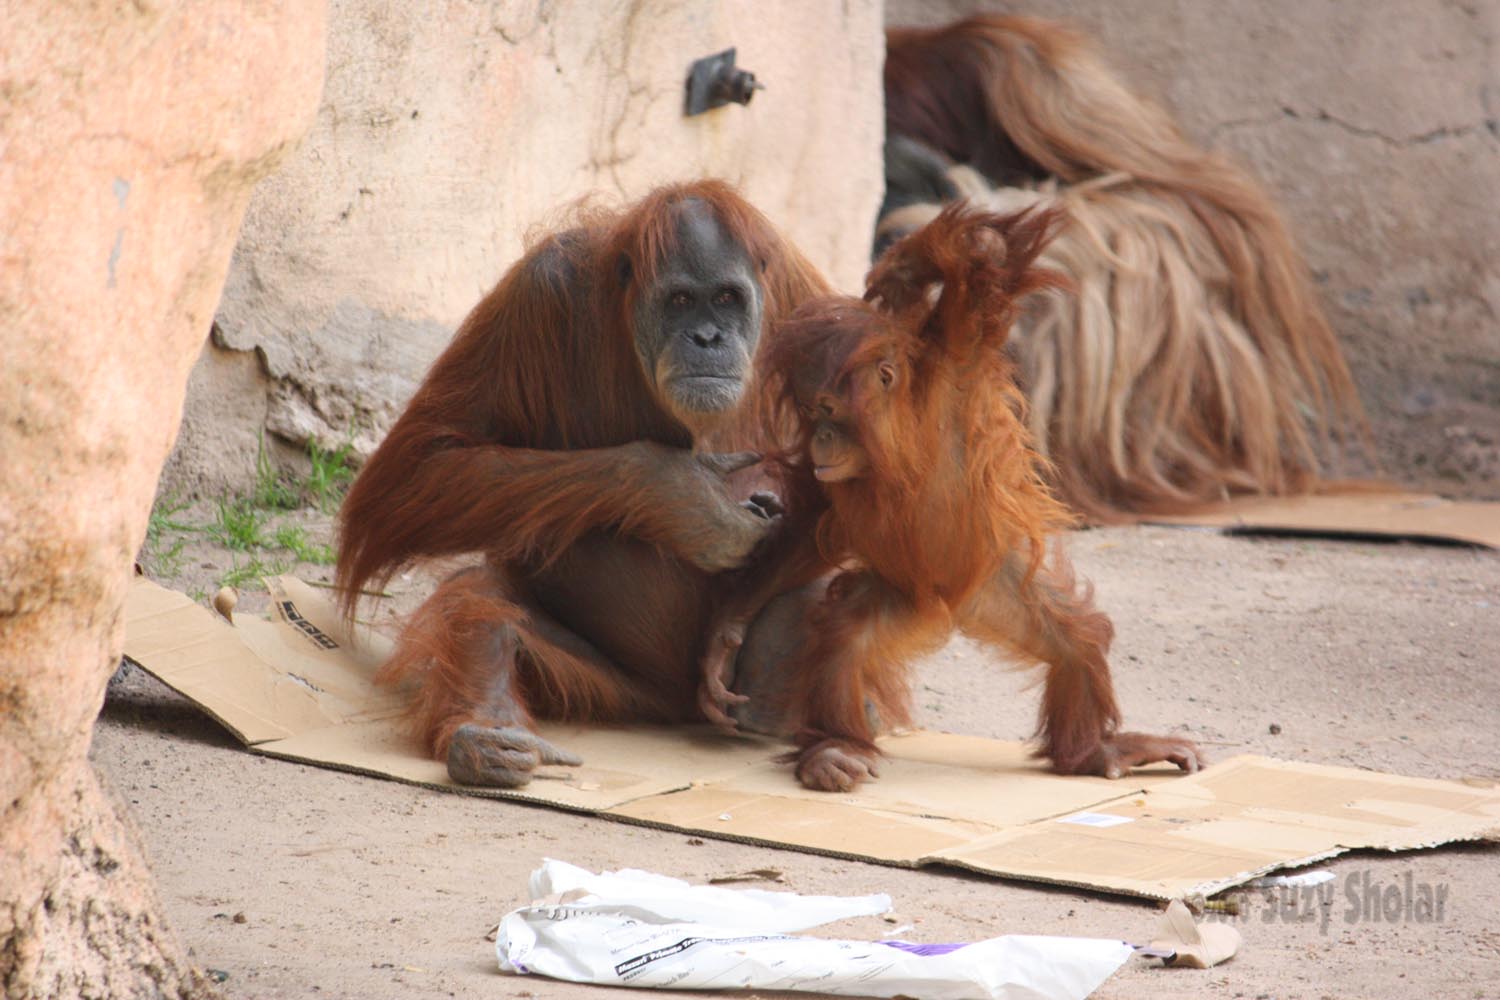
The orangutans are given cardboard and paper; which they play with, sit on, and eat (not necessarily in that order).

The exuberant young'en reminds me of my own...

Right down to monkeying (pun DEFINITELY intended) around during meal times!

Another shot showing how the little guy looks up to the big one.

There is a small Parakeet aviary at this zoo (we've been finding many new areas during our weekly excursions).

Ever wonder why there are so many green parakeets? Natural camouflage, baby!

You knew that Koala's are nocturnal, right?
You knew that Koala's are from The Land Down Under (Australia), right?
You knew that Koala's are marsupials (carry their young in pouches), right?
You know that Koala's hardly drink any water because they live by eating Eucalyptus, right?
DID YOU KNOW, that Koala's have five digits on each limb, but on their arms, they have three fingers and TWO THUMBS? Neither did we... until today!

I think Jack actually has a hard time holding a "normal" pose for a photo!

Just yesterday, Tom was telling the boys about his SCUBA diving days. The boys were delighted to watch the workers cleaning the Seal & Sea Lion Tank today.

Actually, they wouldn't leave the area until the three SCUBA diver's exited the exhibit!

When I tickle Jack JUST before the camera goes off... then things look more natural!

And THAT was our third visit to this zoo. We are finally getting our groove on for what to take, how long to go, and how to relax and enjoy ourselves while there (which I am learning from the boys!)

Monday, September 13, 2010

Sock Puppet

Recently I've saved a few socks for something crafty.

Friday, Jack and I read a story ("If you give a Moose a Muffin" by Laura Joffe Numeroff) and in it the Moose made sock puppets. Since then, Jack has wanted to make some too...


Tom and Frank were out, so I took the opportunity to work with Jack on it. He picked the sock, cut the shapes and choose the yarn colors. I put the needle in and held while he pulled the yarn through. I also felt really good about doing a project with him, while it was fresh in our minds.

There are still boxes all around, but I was able to put my finger on the supplies AND put the things in my mind (unpacking boxes, prepping for a trip, surgery, etc.) aside in order to grasp some of those fleeting moments of childhood and spend a little time with my little-one. It makes me feel good and happy.


PS: This sock puppet also works well to make "Dragon Punches" (when worn on the hand), "Dragon Kicks" (when worn on the foot), and "Dragon Tickles" (when worn by Daddy!)

Thursday, July 29, 2010

They do say "a picture is worth a thousand words."

Umm... I think the photo speaks for itself...


Jack was poking his face through the door to look at Frank.


Then Jack squeezed the door closed... on his frames.


While having them in cleaved might seem a problem for Mom & Dad, Five-Year-Old-Boy finds new ways to play with Glasses-In-Two-Pieces.


Jack finds humor in everything in his life... even broken glasses.


Tape? J.B. Weld? We'll see what Dad comes up with when he gets home.


In the meantime, Jack's happy as can be, broken glasses or not!


Jack. Broken Glasses. EXACTLY 700 days after getting his first pair.


(and just a month before we were planning to get him new ones.)

Saturday, February 21, 2009

A Little Piece of Me

A little while back a friend mentioned that she sees a lot of my expressions in Jack. Since then, I've been paying more attention to myself (in my mind's eye and also the cameras). Today, we took these photos of each other literally one minute apart.


I see things like this and it reminds me of how much (and quickly) our kids mimic us. I also think that it's funny how I have hair on my forehead at the same place he cut his off!

It's also interesting for me to ponder because while I relate to Frank, I frequently see myself in Jack. It forces me to realize that we are more alike than I think, I just have to discover how we're alike.

Thursday, February 12, 2009

Kids Art Project - Pokémon Valentine

Frank and I came up with (what I think are) some pretty clever Valentine's for this year.

Frank likes Pokémon. Frank likes Pokémon A LOT. In order to keep Frank from starting to purchase and collect cards, I spent several months last year diverting his attention by having him MAKE his own cards.

This year, while designing other Pokémons, we thought it would be fun to make a Valentine Pokémon... there are plenty of ideas here:
  • Heart Attack
  • Cardiac Arrest
  • Love Bug
  • Straight to the Heart
  • Luv Needle (Frank's Creation)
Frank designed the card. I designed the envelope. Jack assembled the envelopes. Here's the finished product:


I realize it's a little late to make these for a class party, but there's still time to make a few for friends / family ON Valentine's Day...

If you'd like to do this, here's what you need:
  • two sheets plain printer paper
  • one sheet card stock
  • 1/2 sheet white construction paper
  • 3" x 5" scrap red construction paper
  • drawing supplies
  • black marker
  • glue
  • scanner
  • printer (if you don't have color, draw in black and white, then color after printing)
Here are the templates I've made, please feel free to use them to make your own cards.
Here's how we make the cards and envelopes:
  1. Print out the lined page, as well as several "blank" pages. Then, stack them together with the lined page underneath a blank page.
  2. Draw picture of imagined Pokémon.
  3. Fill in the name, "hit points" and other information.
  4. Scan into the computer.
  5. Pull it into Adobe Photoshop, where you can clean up any stray eraser marks or "mistakes". You can also intensify / adjust the colors.
  6. Reduce the cards to proper size (2 1/2" wide x 3 1/4" tall).
  7. Print nine per page on cardstock.
  8. You may either design a card back, or find an image online to use, then print the second side before cutting.
Envelope:
  1. Fold a sheet of white construciton paper so the edges meet in the middle. The finished size should be about 5" from fold to fold. Trim almost a 5" circle, being sure to leave about 1.5" of the folds intact. (If this step sounds confusing, take a look at the second photograph, with the open envelope and the card tucked inside.)
  2. Set the white circle over the red paper, lining up the edge of the red with the center of the circle. Trim the red to match the circle shape.
  3. Cut about a 1" circle out of a white scrap.
  4. Draw a black line around the small circle.
  5. Glue the side edges on the bottom half of the circle together. This makes the inside pocket. I only glued the top of the sides (not the bottom of the curve); just incase my card was a little big for the envelope.
  6. Glue the red flap to the outside front.
  7. Glue the white dot with the black outline to the center front (only glue the half that touches the red).
  8. Let the glue dry, the put the card in the envelope.
  9. If desired, write a name on the back of the envelope.
  10. Deliver. :D
This would also work well to make invitations to a Pokémon Party.

I'd love to see your efforts if you make use of this fun little project.