Wednesday, December 22, 2010

Gift Wrapping the Easy Way!

A few years ago I started collecting cute Christmas fabric on clearance. Then I sewed pillow-case style bags in all different shapes and sizes with ribbons attached (usually in the side seam). It makes wrapping SUCH a breeze!


The first year, when I made most of the bags, I figure it took me just as long as wrapping, but every year since, it's become SO PLEASANT to wrap gifts! Now, each year, I just add a few new bags (as needed) for new/different sizes/quantities.

I still plan to make some customized tags for our family members, for now, I keep the gifts in separate piles.


While it's too late for most of you to wrap in fabric this year... you CAN take advantage of after-Christmas sales starting this week. Scoop up that cute Holiday fabric for 75% off, buy several yards of ribbon (maybe on sale too) and then you'll be good to go for NEXT year. Oh yeah... remember to keep the fabric out when you pack up your decorations, so you'll be able to sew them and start wrapping early next season!


PS: My hubby likes the boys to have SOME presents to rip open, so he wraps a few for them. ;)

Monday, November 15, 2010

Testing a Blog Board

I skim lots of blogs. As such, I've already forgotten (just since yesterday) where I heard the term "Blog Board" and found the link to MCP Actions. I just tried out their free "Try-Me" blog board though, and I must say, it's very cool!

During our last Arizona trip, the boys were helping their Great Aunt clean up some fall debris from around her house.

This "blog board" action was super easy to use! Now, I'd like to figure out how to create my own templates for this type of thing. So, if any Photoshop savvy readers are out there and can tell me how to do this type of thing, I'd sure appreciate it! I already know a bit about working in Photoshop and creating Actions, I'm just not sure how to create the steps where photos are loaded (and resized) into the proper layer positions.

Oh yeah, I also used the "Soft & Faded" action from The Pioneer Woman's Free Action Set #1.

Thursday, November 11, 2010

Quilt - Pineapple Blossom

After seeing Becky's beautiful Pineapple Blossom quilt and then playing with her extra blocks from the same pattern, I decided to take her class... it was the first one she'd taught and every teacher needs a friendly heckler in the front row, don't-ya-know?

The timing turned out perfectly, since Becky taught the class at Cutting Edge Quiltworks over Halloween Weekend... which I happened to be spending with her. While in Arizona, I cut the pieces and sewed all the blocks. Home less than 24 hours, I've played with layouts. Here are "a few" of what I came up with... all from the same 36 blocks!


I would love to hear your input on which layouts you like and why.

I love the variety of a diagonal block like this, and am quite pleased that Becky convinced me to make this a two color quilt instead of just mixing all the pieces together.

Seeing Becky teach her class has inspired me... I'm thinking of taking this quilt into the local shop to see if they might like it on (I'm thinking) their January class schedule... it feels like the dead of icy winter to me. I'll let you know if I get the nerve up to share Bonnie Hunter's Quiltville Pineapple Blossom Pattern in a paid capacity.

Dice Games with Legos

I felt extra successful today when I adapted to play dice (math) games with the boys using Legos instead of paper and pens. I know it's simple, but sometimes the simplest ideas are the best, so I thought I'd share.

I am making an effort to play more games with the boys (especially dice and card for math skills, but board too). Today Jack just wanted to play with his Legos; so I adapted.

Frank and I were playing "Climb the Mountain". We started out using a Lego piece on the numbers on our paper, but once I created a "mountain" out of Legos, I couldn't stop them playing!


Next we mixed it up by playing the "Random Order" variation of "Climb the Mountain". We all three played (each with a different colored piece) and covered both sides of the mountain (but this was a little hard to see because we had pieces the same colors as the layers. It worked better when we play with our different colored pieces as "armies" on the mountain. First person to cover his side of the mountain wins the battle (another idea is to let them fill the mountain, then start rolling to knock the enemy off the mountain... first one to clear the opponent wins). This gives me a great lead-in to talk about Veteran's Day today too. ;)


By the way, I use old Play-Doh cups for dice rolling and (in this case) holding small game pieces.

When Frank and I started out playing dice today, we were playing "Mouse", with paper and pens to draw our creatures. Jack would bounce in and out to see what we were doing, but after using the Legos in the "Climb the Mountain" games, I gathered Lego Mini-figure pieces, labeled an egg carton and let them go to town building characters, complete with bonuses (vehicles, allies, enemies, and apprentices) for rolling doubles.

This classic game of "Mouse" with a Lego Twist worked best of all. Instead of drawing the parts of a mouse (body, ears, eyes, whiskers, nose, and tail) with each number rolled, you can choose a part from the appropriate bin. We played with two dice and a bonus area for doubles (you could only choose one part per turn though, even though we used two dice).


All-in-all, a very successful way to integrate play and math for loads of learning! Things like this remind me of why I love to Homeschool!

You could easily adapt this to use whatever toys your little one likes to play with, just grab some dice to help direct the play in a math-leaning direction! ;)

Sunday, October 24, 2010

Pumpkin Patch

About three weeks ago, we helped set up the Galloping Grace Youth Ranch Pumpkin Patch. Friday our homeschool group had a field trip to the (now operational) patch. This Patch (just like the Youth Ranch it benefits) is unique in that all the rides and activities are free! In this case, if you wanted a pumpkin or some dried corn (which we did), you pay for those things, but the activities are all just setting out there for the kids to do.

A few of our favorites were:

Tractor Pulls
This was the first thing Jack wanted to do... ride in the John Deere Tractor Races. There were no lines at the horse ride, but he HAD to do this first! For some reason, I REALLY notice his (first lost) missing tooth in this photo!


Duck Races
Manually operated duck races... what a great idea!

Jack was just as interested in how the water came out of the pump as he was in getting ducks into and down the channel.

Frank & Jack had a side-by-side duck race.

I think Frank won the duck race!


Hiding around the Patch

Frank jumped out of the car and ran off with his friend. Eventually, they gathered the friend we drove over with and the three boys ran all over the Patch. I'd see them from time to time, but mostly, they were "being shown the best places to hide." Even though we'd been here before, and the patch was full of homeschoolers we know, I definitely had moments of pause as I allowed Frank to begin stretching his wings of independence. Parental Growing Pains, I suppose.

Frank. Mischief. Trouble.
Yep... I can see it right there in this expression!

Horse Rides
Finally, Jack decides to ride the horses... and so did everyone else. He patiently waited his turn in this line too.

Jack didn't remember riding our family's horse, Midnight, in Wyoming (he was just three (or maybe two) at the time). Perhaps he'll remember this ride?

Frank remembers riding his great-Grandad's horse, Duke, WITH his Dad... I guess this is the first time they've been on a horse alone.

Most kids put the horse shoe on the corral rails. Frank is so tall, she had him put the horse shoe above the gate.


We also tried Bean Bag Tosses, Scarecrow Dressing, Corn and Hay Mazes, and Digging in the Corn Crib (full of dry, shucked corn, like a sand box).

I really should take the boys back for another bit of play, they enjoyed themselves tremendously.

After looking at this, I guess I forgot to take pictures of the actual pumpkins!


PS: This is post number 444 (and still counting!) I always notice the weird numbers like this.

Thursday, October 21, 2010

Biological Lessons

When we woke to wind and cloudy skies (with rain on the ground), I groaned because of putting off the zoo yesterday. Two hours later we arrived at the zoo, to find blue skies, 58°F-68°F temperatures, and a deserted zoo full of frisky animals (thanks to the rain). Today was our third week in a row we've gone to our Biological Park for the morning. I don't realize just how many times I press that shutter... until I get home and download over 270 photos from just 2 hours at the Zoo. Here are the top 10% from today:

Jack is quite pleased that he's starting to be able to read words like "zoo".
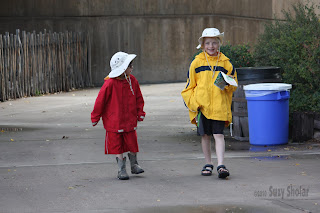
There are several photos of the boys as they walk (backwards), but I love this one where Jack is looking up to Frank.

You've got to love Photoshop Actions where you can save even a fuzzy, out of focus photo, and make it look "aged" or intentional! Thanks again Pioneer Woman for your amazing (free) Action Sets! This photo has the "Heartland" Action, from Set 2, applied to it.
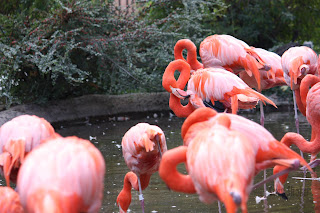
Ever since the 6th Grade I've been interested by Flamingoes.
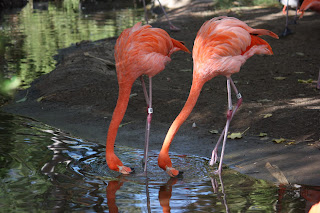
Just because I had knobby knees, weighed under 60 pounds, and wore hot pink all the time, that wouldn't have had *anything* to do with said "interest".

No matter the reason why, I do like flamingos and am quite pleased that the exhibit at this zoo is front and center by the entrance/exit. I can stop and watch them coming AND going.
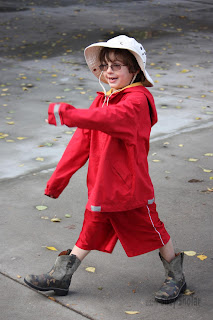
For the times when Mom is taking too many pictures, the boys get going on their own with a "C'mon MOM!"
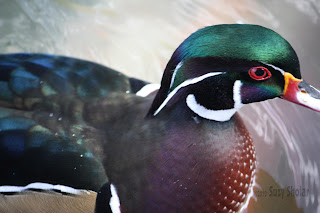
Like water on a (Carolina Wood) Duck's back, I tell you!
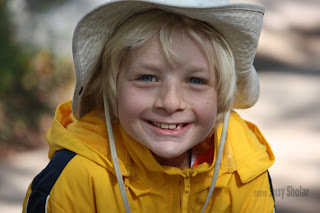
Now THIS is the kind of Birthday Portrait I've been after for the past two weeks... well, minus the raincoat and sun hat, but this expression! That's what I'm talkin' about!!!
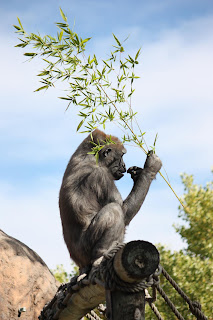
Got sun, just add tree branch.
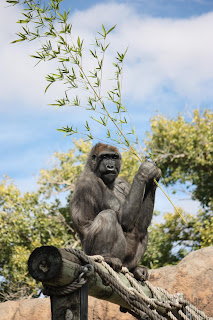
Instant shade AND a snack all in one!
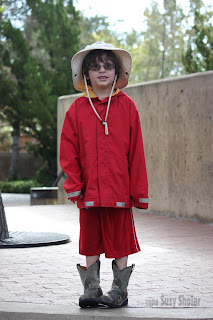
Such a funny expression and pose.


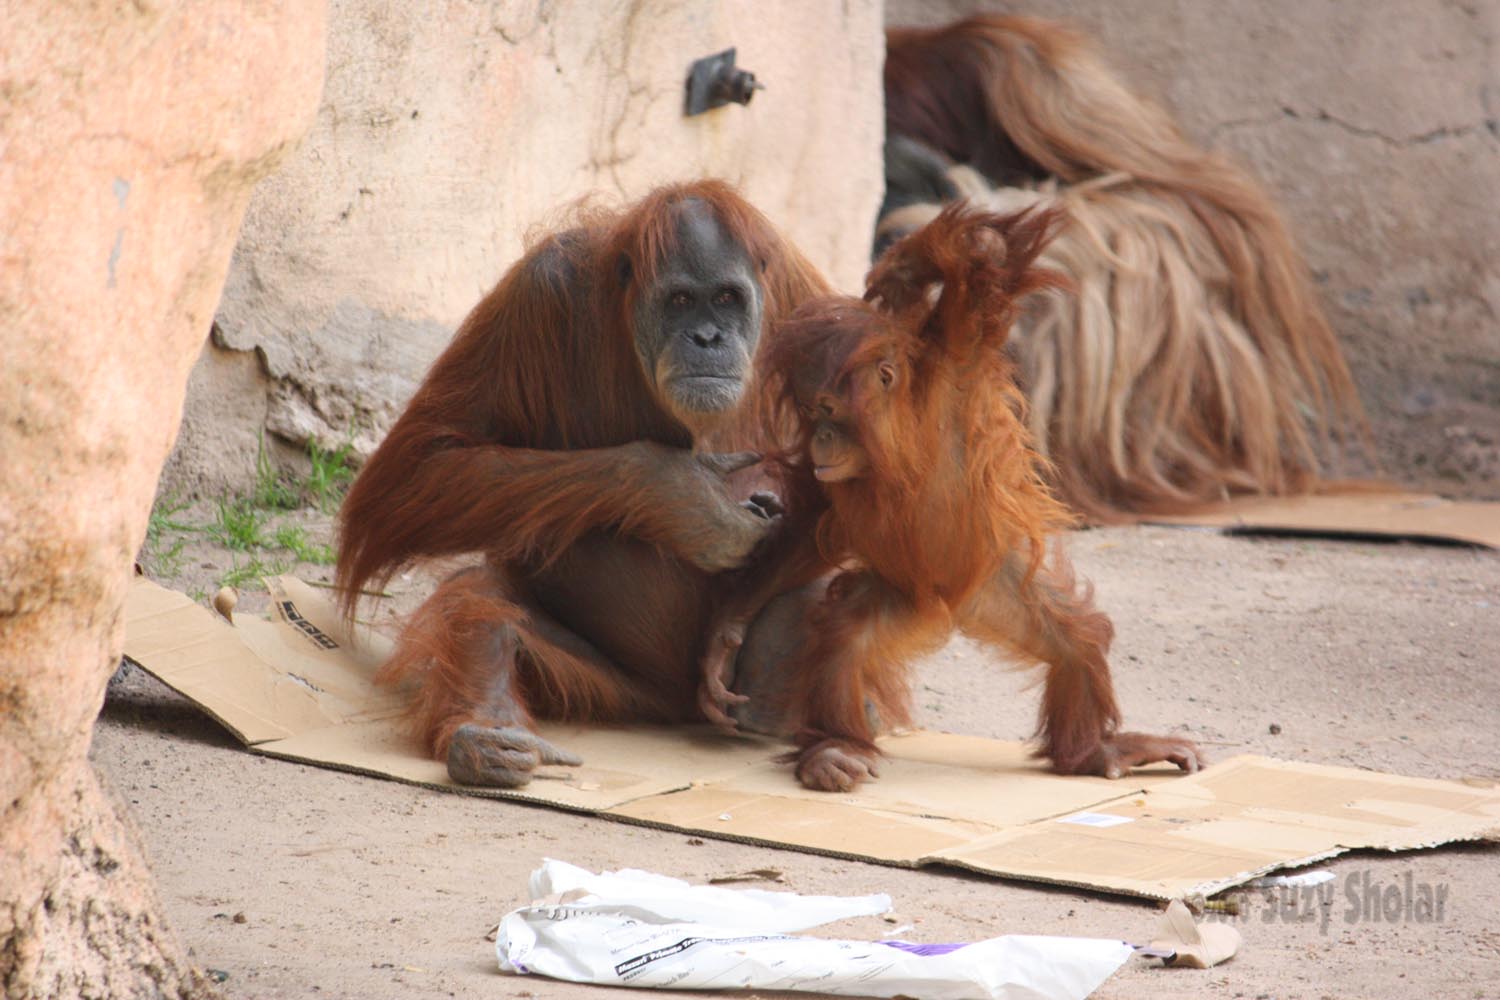
The orangutans are given cardboard and paper; which they play with, sit on, and eat (not necessarily in that order).
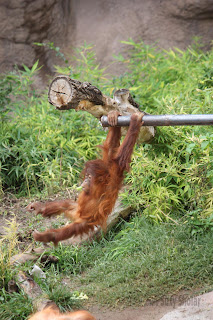
The exuberant young'en reminds me of my own...
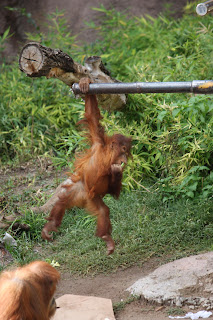
Right down to monkeying (pun DEFINITELY intended) around during meal times!

Another shot showing how the little guy looks up to the big one.

There is a small Parakeet aviary at this zoo (we've been finding many new areas during our weekly excursions).
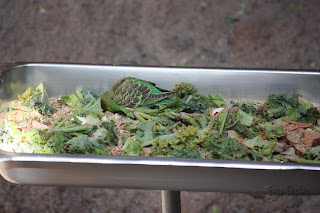
Ever wonder why there are so many green parakeets? Natural camouflage, baby!

You knew that Koala's are nocturnal, right?
You knew that Koala's are from The Land Down Under (Australia), right?
You knew that Koala's are marsupials (carry their young in pouches), right?
You know that Koala's hardly drink any water because they live by eating Eucalyptus, right?
DID YOU KNOW, that Koala's have five digits on each limb, but on their arms, they have three fingers and TWO THUMBS? Neither did we... until today!
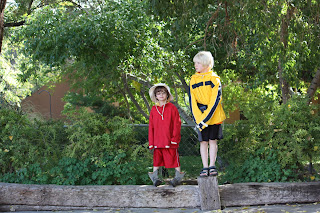
I think Jack actually has a hard time holding a "normal" pose for a photo!
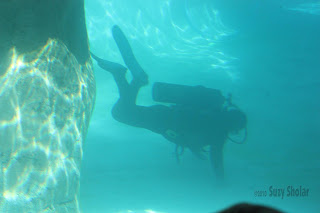
Just yesterday, Tom was telling the boys about his SCUBA diving days. The boys were delighted to watch the workers cleaning the Seal & Sea Lion Tank today.
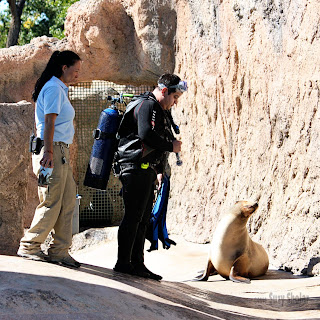
Actually, they wouldn't leave the area until the three SCUBA diver's exited the exhibit!

When I tickle Jack JUST before the camera goes off... then things look more natural!

And THAT was our third visit to this zoo. We are finally getting our groove on for what to take, how long to go, and how to relax and enjoy ourselves while there (which I am learning from the boys!)

Wednesday, October 20, 2010

"Vampire Tooth" Tooth Fairy Pillow

Jack putting his First Tooth Lost in the brand new Tooth Fairy Pillow.


The mouth is open along the top for the tooth to go in. He was also quite specific about the placement and shape of the eyes.

The fang shaped "Vampire Tooth" is TOTALLY his pattern design. I had something MUCH different in mind, but it is his pillow.


On the back, we used a bit of blue and black batik fabric. Thanks to Becky for the fabric for this little project!